Cockpit is a free and open source program for Linux server management. It is very lightweight and has a beautiful, easy to use web interface. It allows system administrators to easily perform tasks such as starting Docker containers, storage administration, and network configuration. Cockpit is released under the LGPL v2.1+, and it is available for Debian, Redhat, CentOS, Fedora, Atomic, Arch Linux, and Ubuntu.
In this tutorial you will learn how to install the latest version of Cockpit on CentOS 7.
Cockpit features
- Manage multiple Cockpit machines from a single Cockpit session
- Create and manage Docker containers
- Create and manage KVM, oVirt Virtual Machines
- Modify the network settings
- Manage user accounts
- Web-based shell in a terminal
- View system performance in a graph.
- Collect system configuration and diagnostic information with the use of sosreport.
Install Cockpit on CentOS 7.x
Cockpit is included in CentOS 7.x repository. To install cockpit on Centos 7 open up the Terminal, and run the following command as root user to install Cockpit:
# yum install -y cockpit cockpit-networkmanager cockpit-dashboard cockpit-storaged cockpit-packagekit
You can additionally install below packages to manage other tasks using Cockpit.
| Package Name | Purpose |
|---|---|
| cockpit-docker | Managing Docker Containers |
| cockpit-kubernetes | Visualizing and Configuring Kubernetes Cluster |
| cockpit-machines | Manage KVM Virtual Machines |
| cockpit-sosreport | Create diagnostic report with the sosreport tool |
| cockpit-selinux | Troubleshoot SELinux Issues |
| cockpit-kdump | Configure Kernel Crash Dumps |
| cockpit-subscriptions | Manage System subscription |
| cockpit-machines-ovirt | Manage oVirt Virtual Machines |
| cockpit-pcp | Reading PCP metrics and Loading PCP archives |
[ads]
Enable the Cockpit service
To start Cockpit automatically on every reboot, run:
# sudo systemctl enable --now cockpit.socket
Allowing Firewall
After we have started our cockpit server and enable it to start in every boot, we’ll now go for configuring firewall. As we have firewall programs running in our server, we’ll need to allow ports in order to make cockpit accessible outside of the server.
# firewall-cmd --permanent --add-service=cockpit
# firewall-cmd --reload
Accessing Cockpit Web Interface
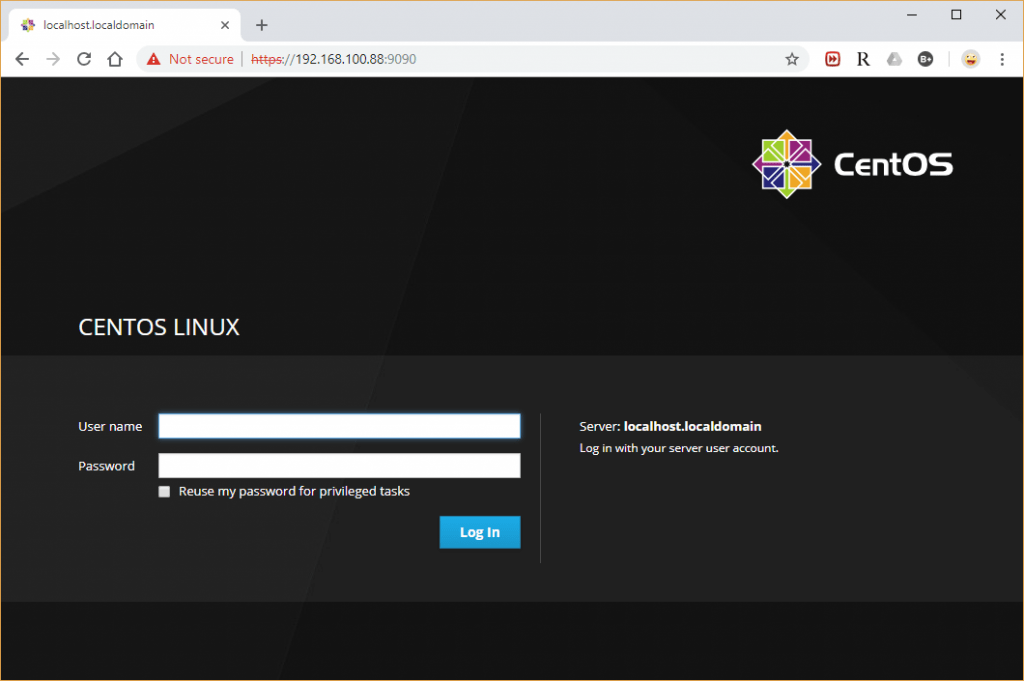
Once you start the Cockpit service, you access the Cockpit console by going to below URL using the browser.
[box type=”info” align=”” class=”” width=””]https://ip.add.re.ss:9090[/box]
You would need to add a Security Exception in the browser to access the Cockpit for the first time. Log in with your local user account. In my case; it is “root”.

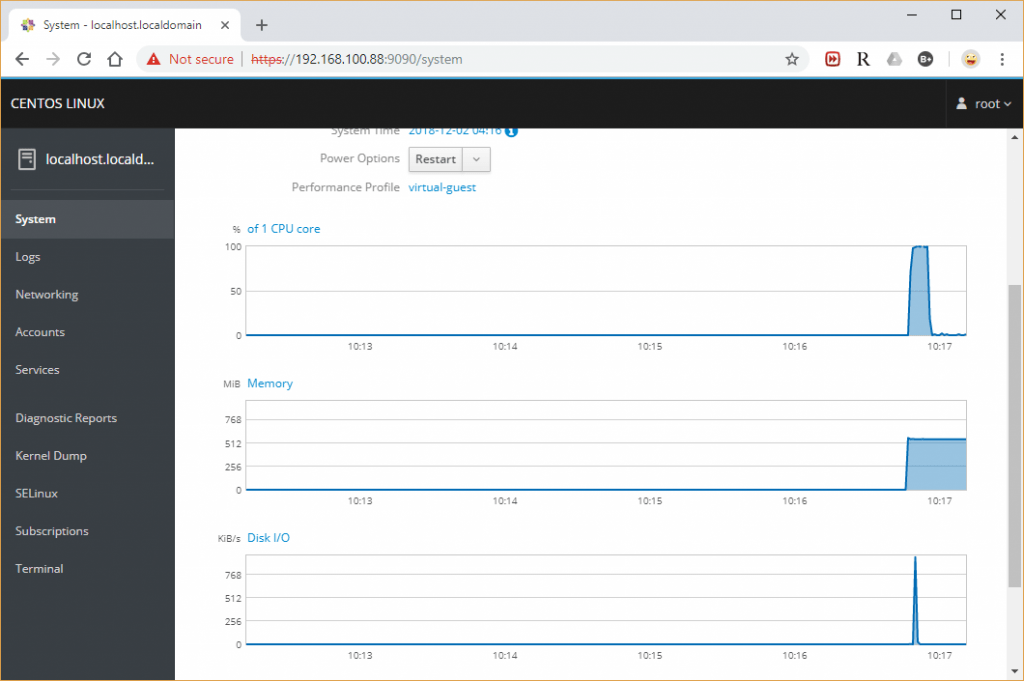
Once you have logged in into Cockpit, it will take you to the System page where you can see a complete overview of the system.

That’s it. From here, you can do administrative tasks such as adding/deleting users, starting/stopping services, configuring network and so on.