Nginx (pronounced engine-x) is a free, open-source, high-performance HTTP server and reverse proxy, as well as an IMAP/POP3 proxy server. Igor Sysoev started development of Nginx in 2002, with the first public release in 2004. Nginx now hosts nearly 12.18% (22.2M) of active sites across all domains. Nginx is known for its high performance, stability, rich feature set, simple configuration, and low resource consumption.
In this tutorial I use the hostname srv1.lintut.com with the IP address 10.0.0.80. These settings might differ for you, so you have to replace them where appropriate.
First enable EPEL and remi repository.
Install yum priorities
# yum install yum-priorities
Edit /etc/yum.repos.d/epel.repo and add the line priority=10 to the [epel] section:
[epel]
name=Extra Packages for Enterprise Linux 6 - $basearch
#baseurl=http://download.fedoraproject.org/pub/epel/6/$basearch
mirrorlist=https://mirrors.fedoraproject.org/metalink?repo=epel-6&arch=$basearch
failovermethod=priority
enabled=1
priority=10
gpgcheck=1
gpgkey=file:///etc/pki/rpm-gpg/RPM-GPG-KEY-EPEL-6
[...]
Edit /etc/yum.repos.d/remi.repo and change enabled to 1 and add priority=10:
nano /etc/yum.repos.d/remi.repo
[remi]
name=Les RPM de remi pour Enterprise Linux $releasever - $basearch
#baseurl=http://rpms.famillecollet.com/enterprise/$releasever/remi/$basearch/
mirrorlist=http://rpms.famillecollet.com/enterprise/$releasever/remi/mirror
enabled=1
priority=10
gpgcheck=1
gpgkey=file:///etc/pki/rpm-gpg/RPM-GPG-KEY-remi
failovermethod=priority

[remi-test]
name=Les RPM de remi en test pour Enterprise Linux $releasever - $basearch
#baseurl=http://rpms.famillecollet.com/enterprise/$releasever/test/$basearch/
mirrorlist=http://rpms.famillecollet.com/enterprise/$releasever/test/mirror
enabled=0
gpgcheck=1
gpgkey=file:///etc/pki/rpm-gpg/RPM-GPG-KEY-remi
Installing Nginx
Nginx is available as a package for CentOS 6.4 (from EPEL) which we can install as follows:
yum install nginx
Start nginx and make it to start automatically on every reboot.
/etc/init.d/nginx start
chkconfig nginx on
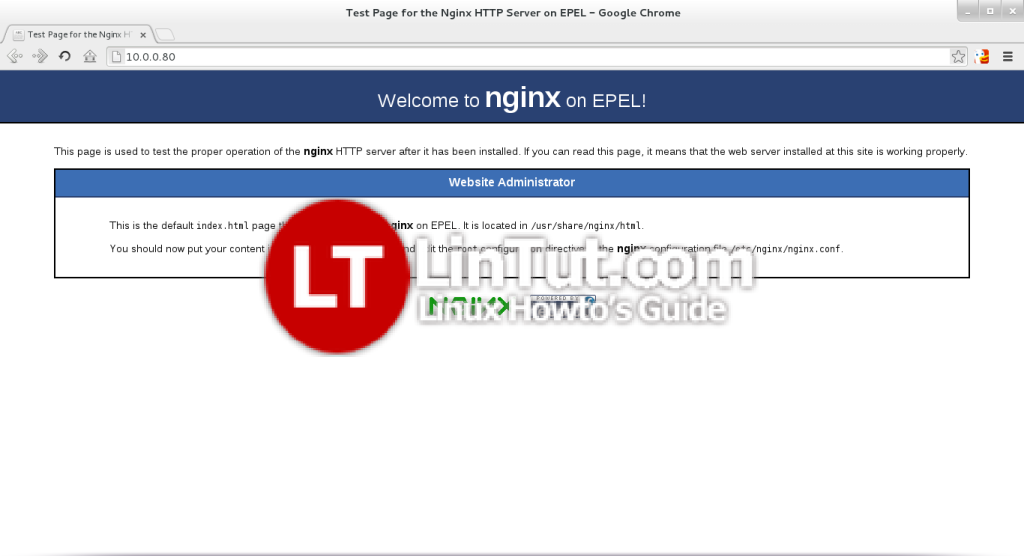
Type in your web server’s IP address or hostname into a browser, and you should see the nginx welcome page:
Install MySql server
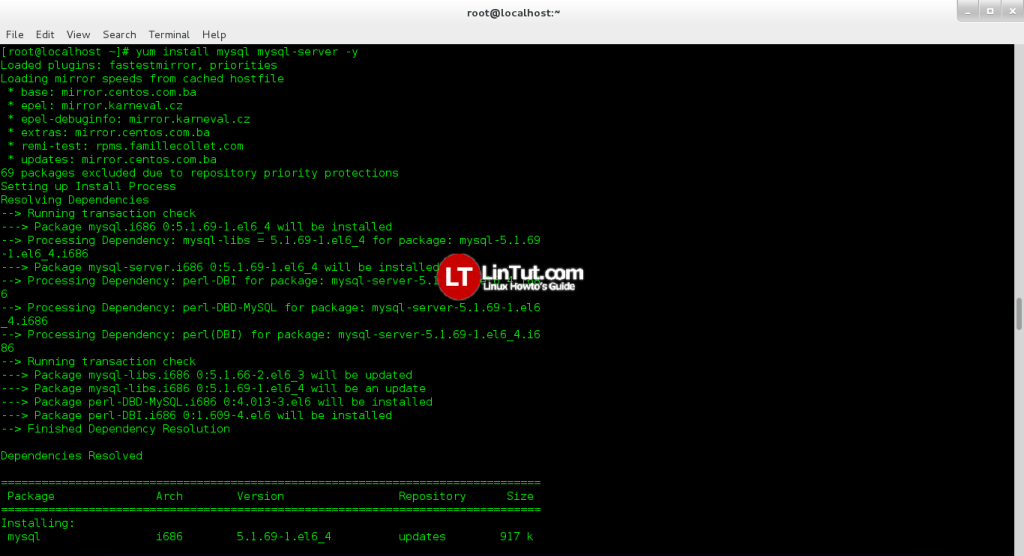
yum install mysql mysql-server -y
Set MySQL root password
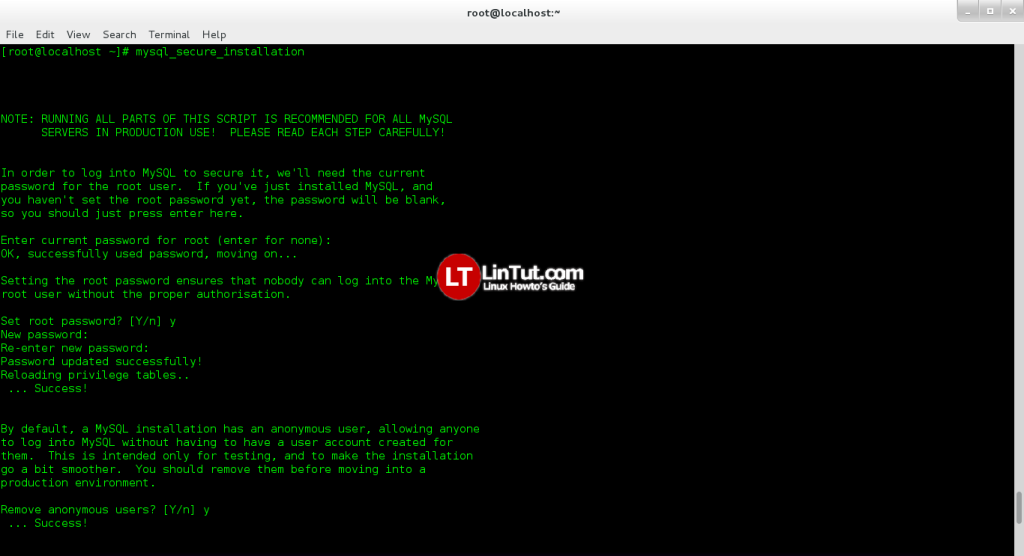
Type next command and follow instruction:
mysql_secure_installation
Installing PHP5
We can make PHP5 work in nginx through PHP-FPM (PHP-FPM (FastCGI Process Manager) is an alternative PHP FastCGI implementation with some additional features useful for sites of any size, especially busier sites). We can install php-fpm together with php-cli and some PHP5 modules like php-mysql which you need if you want to use MySQL from your PHP scripts as follows:
yum install php-fpm php-cli php-mysql php-gd php-imap php-ldap php-odbc php-pear php-xml php-xmlrpc php-magickwand php-magpierss php-mbstring php-mcrypt php-mssql php-shout php-snmp php-soap php-tidy
APC is a free and open PHP opcode cacher for caching and optimizing PHP intermediate code. It’s similar to other PHP opcode cachers, such as eAccelerator and Xcache. It is strongly recommended to have one of these installed to speed up your PHP page.
APC can be installed as follows:
yum install php-pecl-apc
Then open /etc/php.ini and set cgi.fix_pathinfo=0:
nano /etc/php.ini
[...]
; cgi.fix_pathinfo provides *real* PATH_INFO/PATH_TRANSLATED support for CGI. PHP's
; previous behaviour was to set PATH_TRANSLATED to SCRIPT_FILENAME, and to not grok
; what PATH_INFO is. For more information on PATH_INFO, see the cgi specs. Setting
; this to 1 will cause PHP CGI to fix its paths to conform to the spec. A setting
; of zero causes PHP to behave as before. Default is 1. You should fix your scripts
; to use SCRIPT_FILENAME rather than PATH_TRANSLATED.
; http://www.php.net/manual/en/ini.core.php#ini.cgi.fix-pathinfo
cgi.fix_pathinfo=0
[...]
Start php-fpm service and configure to start automaticly on system boot:
 /etc/init.d/php-fpm start
chkconfig php-fpm on
Restart ngnix server
/etc/init.d/nginx reload
Testing PHP
Create test php page:
nano /usr/share/nginx/html/info.php
and paste following code:
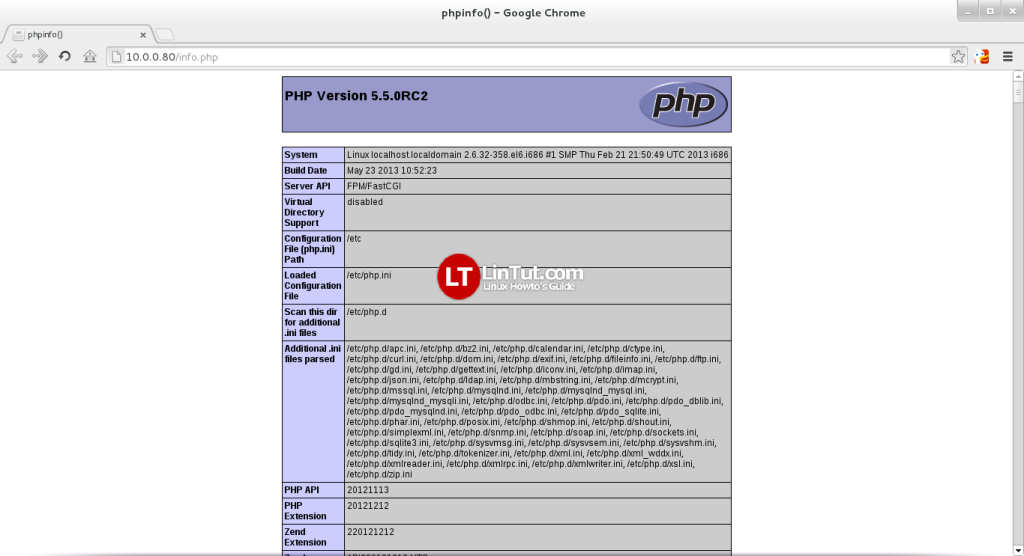
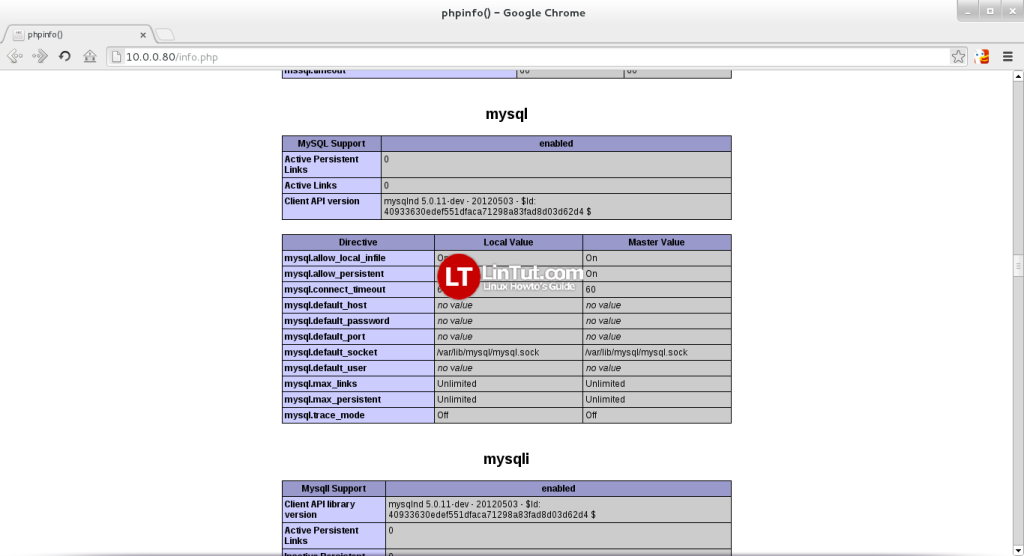
Now we call that file in a browser (e.g. http://10.0.0.80/info.php)
Reference:unixmen.com and howtoforge.com