Eclipse is a popular, well-known Integrated Development Environment for application development. It is the most widely used Java IDE and is written in C and Java, released under Eclipse Public License.
Eclipse is not only used for developing applications in various programming languages including COBOL, Ada, C, C++, Perl, PHP, Python, R, Ruby (including Ruby on Rails framework), Clojure, Scala, Groovy, and Scheme.
Development environments include the Eclipse Java development tools (JDT) for Java, Eclipse CDT for C/C++ and Eclipse PDT for PHP, among others.
With the support of plugins available in Eclipse Marketplace, you can extend the functionality of Eclipse.
In this tutorial we will learn how to install the latest edition of Eclipse IDE in Ubuntu 18.04/18.10 and Linux Mint 19.
Prerequisites
Eclipse requires Java JDK / JRE 8 or above to be available on your machine. Install OpenJDK.
sudo apt update
sudo apt install -y openjdk-8-jdk-headless
Verify the Java version on your machine.
java -version
Example output:
openjdk version "1.8.0_191"
OpenJDK Runtime Environment (build 1.8.0_191-8u191-b12-2ubuntu0.18.04.1-b12)
OpenJDK 64-Bit Server VM (build 25.191-b12, mixed mode)
Install the wget package on your system to download the Eclipse IDE package from the internet over a terminal.
sudo apt install -y wget
[ads]
Install Eclipse IDE
ownload the latest version of Eclipse IDE 2019-03 from the official page using a web browser or download the Eclipse IDE 2019-03 package over a terminal using the following command.
wget http://ftp.yz.yamagata-u.ac.jp/pub/eclipse/technology/epp/downloads/release/2019-03/R/eclipse-java-2019-03-R-linux-gtk-x86_64.tar.gz
Extract the downloaded Eclipse IDE package to your desired directory (Ex. /opt/).
sudo tar -zxvf eclipse-java-2019-03-R-linux-gtk-x86_64.tar.gz -C /opt
Create a link to the eclipse executable to /usr/bin path so that all users in the machine can able to use Eclipse.
sudo ln -s /opt/eclipse/eclipse /usr/bin/eclipse
Create Launcher Icon for Eclipse IDE
Having a launcher icon on the menu would be very handy to start the application right from the desktop.
nano /usr/share/applications/eclipse.desktop
Use the following information in the above file.
[Desktop Entry]
Encoding=UTF-8
Name=Eclipse IDE 2019-03
Comment=Eclipse IDE 2019-03
Exec=/usr/bin/eclipse
Icon=/usr/eclipse/icon.xpm
Terminal=false
Type=Application
StartupNotify=false
Start Eclipse IDE
From command line
eclipse
From GUI
Go to Activities >> Search for Eclipse.

[ads]
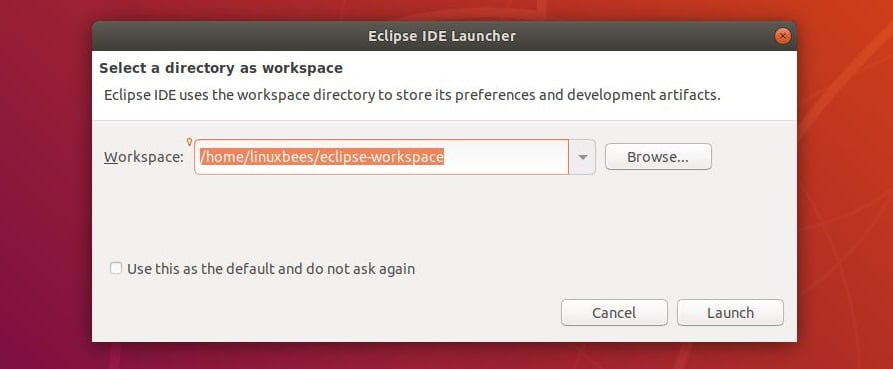
On the first application launch, add Eclipse workspace directory and hit on Launch button to start the application.

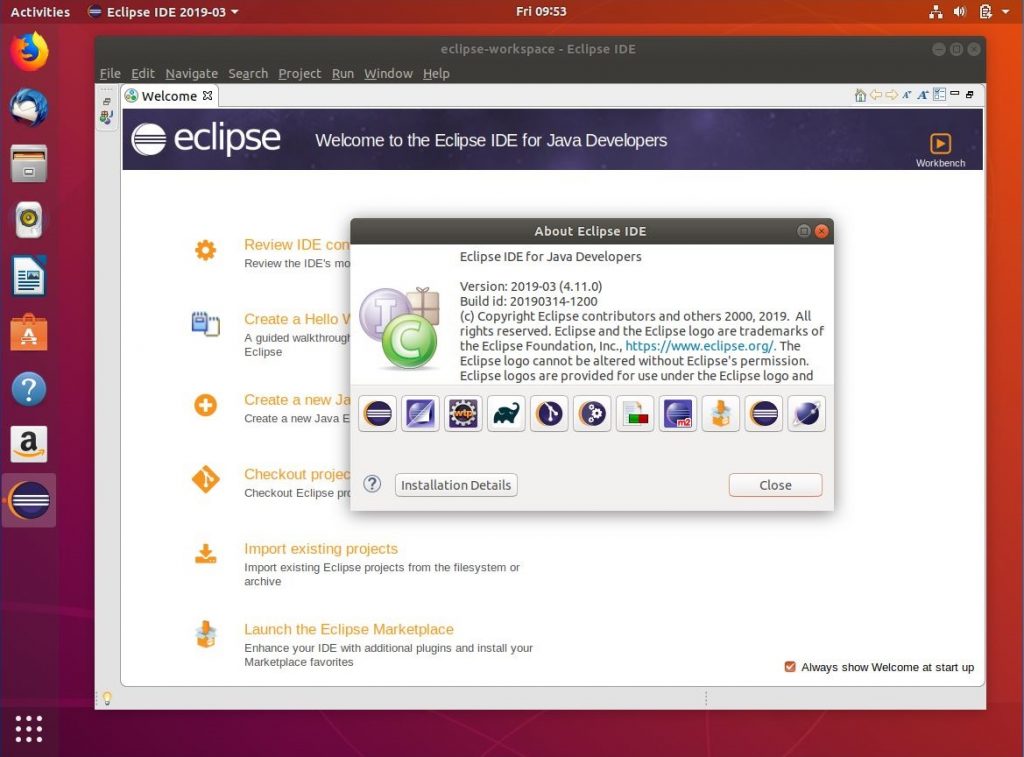
Eclipse IDE 2019-03 running on Ubuntu 18.04:

Conclusion
That’s all! The latest version of Eclipse IDE is now installed in your system. Also, you can get started with Eclipse by visiting the official Eclipse Documentation.
sweet! Their installer failed on 18.10.
This worked like a charm.
I’ve done this in my computer (L Mint 19 cinnamon) and everything works, except for “Create Launcher Icon for Eclipse”
so every time I have to browse to /usr/bin/eclipse to use the program