Eclipse is a widely used Integrated Development Environment for JAVA application development. It is also used for developing applications in various programming languages such as COBOL, Ada, C, C++, Perl, PHP, Python, R, Ruby, Clojure, Scala, Groovy, and Scheme with the help of plug-ins.
Eclipse is released under Eclipse Public License, a free and open-source license.
In this tutorial you will learn how to install Eclipse IDE for Java developers on Ubuntu 20.04 Focal Fossa Linux desktop.
Prerequisites
In order to install Eclipse IDE, you have to install JRE (Java Runtime Environment) on your Ubuntu machine:
$ sudo apt update
$ sudo apt install openjdk-14-jre
To verify that Java was successfully installed, let’s run:
$ java --version
Output:
openjdk 14.0.1 2020-04-14
OpenJDK Runtime Environment (build 14.0.1+7-Ubuntu-1ubuntu1)
OpenJDK 64-Bit Server VM (build 14.0.1+7-Ubuntu-1ubuntu1, mixed mode, sharing)
Install Eclipse in Ubuntu 20.04 by installer package
At the time of this writing, the latest version of Eclipse is: Eclipse IDE 2020-06. Eclipse can be downloaded via the browser on its official website https://www.eclipse.org/downloads/
By default, the installer package is downloaded into the directory ‘~/Downloads’ with name: ‘eclipse-inst-linux64.tar.gz’.
Or by using the wget command as:
$ wget https://download.eclipse.org/oomph/epp/2020-06/R/eclipse-inst-linux64.tar.gz
[ads]
Extract Eclipse package to your desired directory (Ex. /opt):
$ sudo tar -xf eclipse-inst-linux64.tar.gz -C /opt

In order to install Eclipse, launch the installer file ‘eclipse-inst’ by running the following command:
$ cd /opt/eclipse-installer
$ sudo ./eclipse-inst
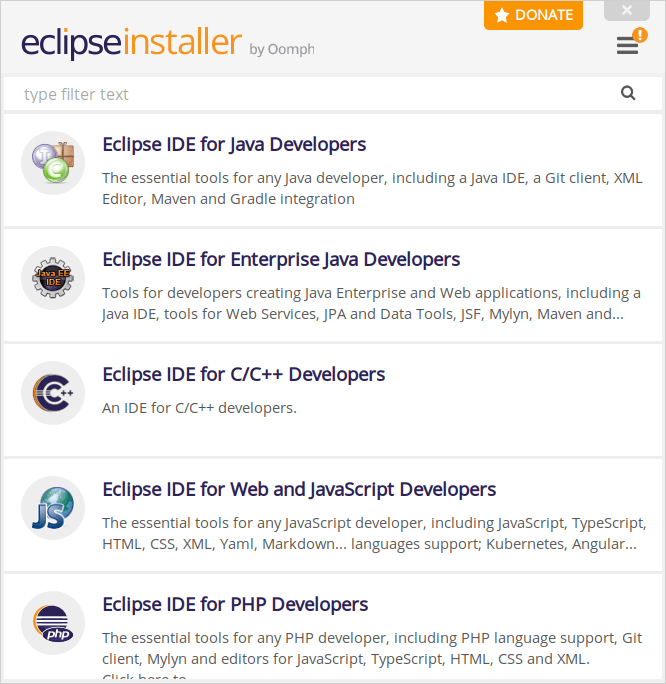
Eclipse packages window appears, let’s choose your favorite package IDE.

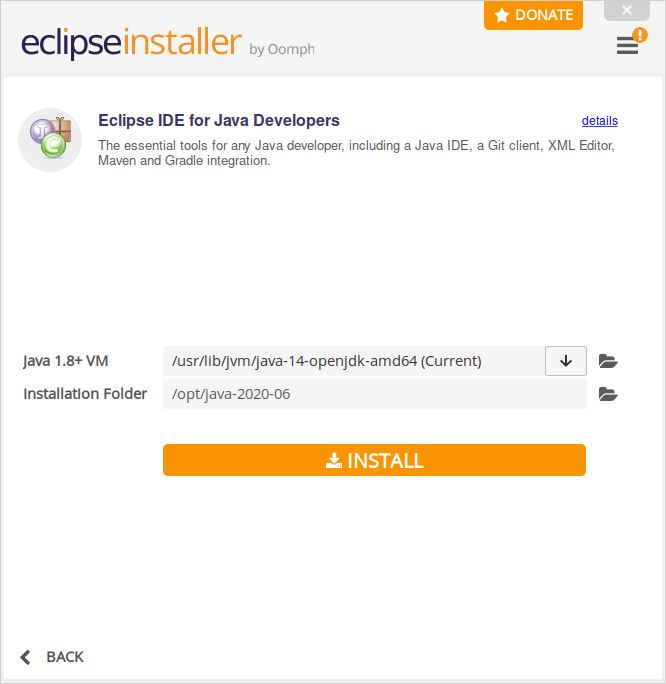
For example, select the Eclipse IDE for Java Developers then click INSTALL:

[ads]
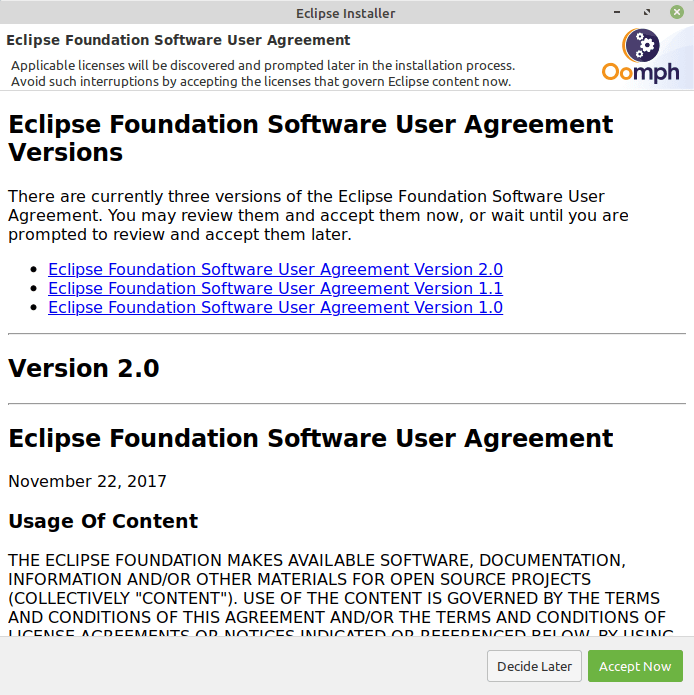
Next, you have to accept the Eclipse Foundation Software User Agreement.

After the installation has completed, Eclipse is ready to be launched.
Create launcher icon
Once the Eclipse is downloaded and installed successfully, you may need to create a shortcut to launch your IDE. Using your favorite editor to create a file named ‘eclipse.desktop’ and enter the following lines to it:
[Desktop Entry]
Name=Eclipse
Type=Application
Exec=/opt/eclipse/eclipse/eclipse
Terminal=false
Icon=/opt/eclipse/eclipse/icon.xpm
Comment=Integrated Development Environment
NoDisplay=false
Categories=Development;IDE;
Name[en]=Eclipse
Name[en_US]=Eclipse
Please note that the paths in lines ‘Exec=‘ and ‘Icon=‘ are depended on your system. You can find the path in Exec line by running command:
$ which eclipse
Now, let’s enable the launcher icon:
$ sudo chmod +x eclipse.desktop
$ sudo mv eclipse.desktop /usr/share/applications/eclipse.desktop
That’s all. From now on, you can search for eclipse and launch it in the Applications center on your Ubuntu machine.
Conclusion
You have installed Eclipse IDE on your Ubuntu 20.04 LTS system. Let’s start working with your application.