gdu (Go Disk Usage) is very similar to ncdu, a popular console disk usage analyzer, with one major difference: speed. gdu makes use of parallel processing, being especially created for solid state drives (SSD). It also works with hard disk drives (HDD), but its performance gain compared to other tools is not so great in this case.
In this article, we will show you how to install and use gdu console disk usage analyzer in Ubuntu linux.
Install gdu – disk usage analyzer on Ubuntu
Ubuntu users can use different ways to install gdu, such as:
1. Install gdu – disk usage analyzer from repository
To use this installation option, let’s start by adding the project repository.
$ sudo add-apt-repository ppa:daniel-milde/gdu
$ sudo apt update
After updating the software available from the repositories, we can now proceed to installation with this other command:
$ sudo apt install gdu -y
[ads1]
2. Install gdu – disk usage analyzer as snap
You can simply install gdu using snap by running the below commands:
$ sudo snap install gdu-disk-usage-analyzer
After installation we will need establish the necessary connections:
$ sudo snap connect gdu-disk-usage-analyzer:mount-observe :mount-observe
$ sudo snap connect gdu-disk-usage-analyzer:system-backup :system-backup
And to finish we will create an alias, so that we can start the program by just typing gdu. This can be done using the command:
$sudo snap alias gdu-disk-usage-analyzer.gdu gdu
3. Install gdu – disk usage analyzer from GitHub
Go to the gdu GitHub release page to download the archive file. The latest version is v4.10.0 and I suggest downloading the latest version.
$ curl -L https://github.com/dundee/gdu/releases/latest/download/gdu_linux_amd64.tgz | tar xz
$ chmod +x gdu_linux_amd64
$ sudo mv gdu_linux_amd64 /usr/bin/gdu
Whatever option you use to install the program, now we can check installation and version executing the following command:
rasho@Gandalf:~$ gdu --version
Max cores set to 4
Version:	 v4.10.0
Built time:	 Wed Apr  7 11:30:34 PM CEST 2021
Built user:	 dundee
How to use gdu – disk usage analyzer
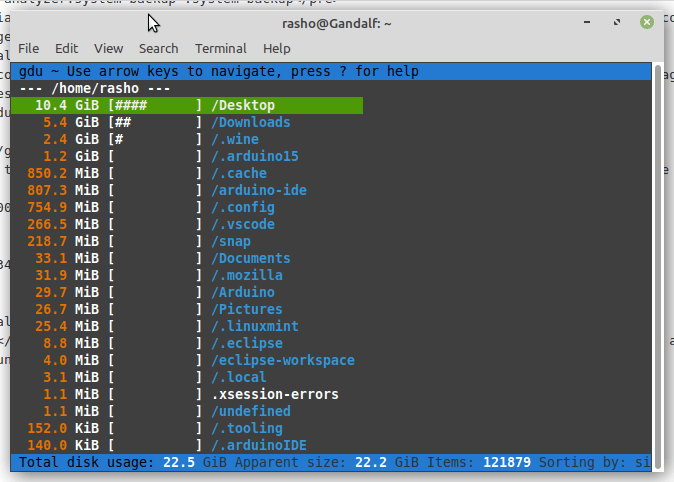
If you run the gdu command without passing any argument it will scan your current working directory. I am in my home directory now and when I run gdu, you can see from the below image my home directory is scanned.
$ gdu
[ads1]
To scan a particular directory provide a directory path as an argument.
$ gdu /home/rasho/Documents/
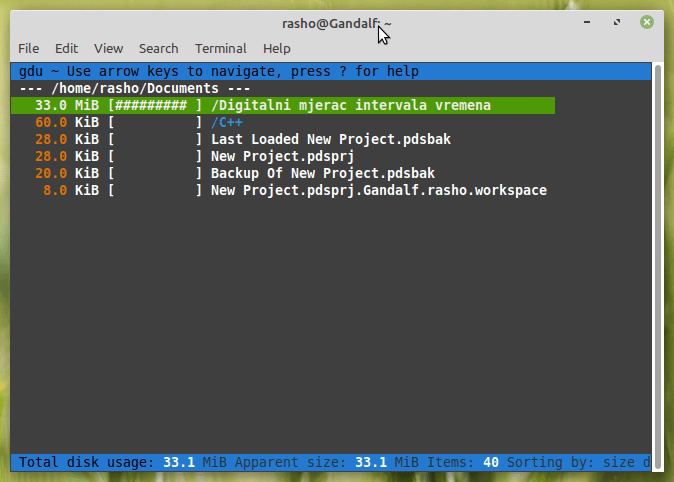
It is possible during or after the scan we see special characters in files and directories, and each one has a special meaning. The characters that we can find are the following:
-
-
- [! ] → Error reading directory
- [. ] → Error reading subdirectory.
- [@] → The file is socket or simlink.
- [H] → Hardlink that is already counted.
- [e] → Empty directory.
-
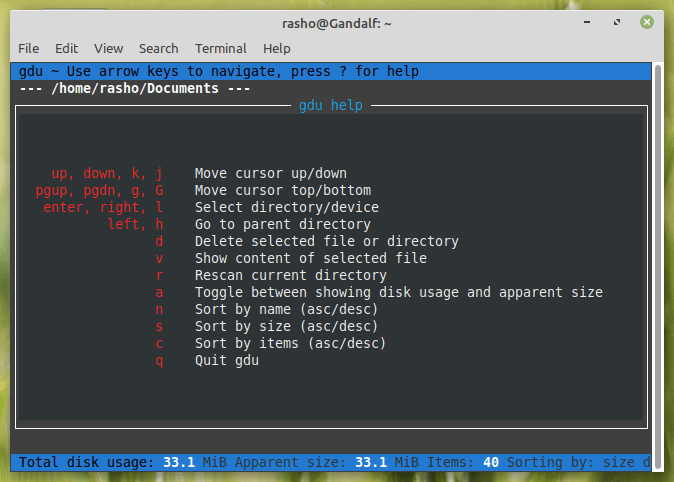
There are few operations you can perform with the gdu command. Press ? to access help.
[ads1]
You can ignore certain directories from the output by adding directory names as an argument to the -i flag. Multiple directories can also be passed to the -i flag and each directory should be separated by commas.
$ gdu / -i /home,/var,/usr
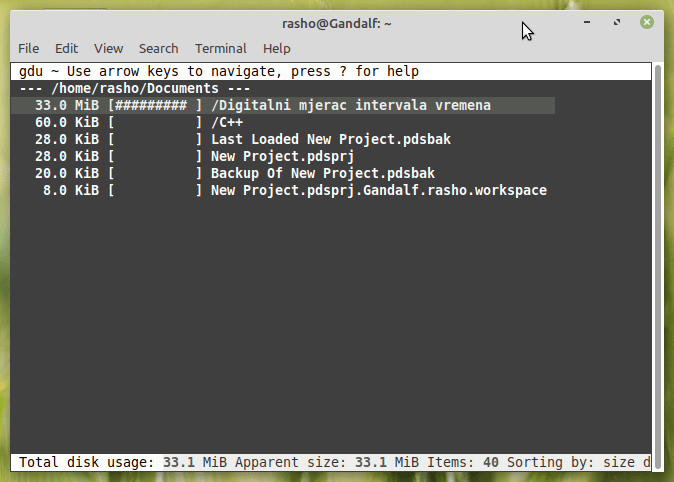
By using -c flag you can change gdu terminal output colour to black background and white text.
By using -c you can change gdu terminal output colour to black background and white text.
$ gdu /home/rasho/Documents/ -c
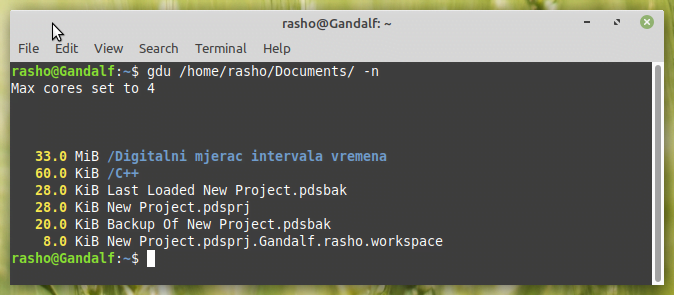
If you don’t like interactive mode then you can choose non-interactive which flag -n in gdu command.
$ gdu /home/rasho/Documents/ -n
A good practice before playing with any new tools is to check the help options.
$ gdu --help
Pretty fast disk usage analyzer written in Go.

Gdu is intended primarily for SSD disks where it can fully utilize parallel processing.
However HDDs work as well, but the performance gain is not so huge.

Usage:
  gdu [directory_to_scan] [flags]

Flags:
  -h, --help                  help for gdu
  -i, --ignore-dirs strings   Absolute paths to ignore (separated by comma) (default [/proc,/dev,/sys,/run])
  -l, --log-file string       Path to a logfile (default "/dev/null")
  -m, --max-cores int         Set max cores that GDU will use. 4 cores available (default 4)
  -c, --no-color              Do not use colorized output
  -x, --no-cross              Do not cross filesystem boundaries
  -p, --no-progress           Do not show progress in non-interactive mode
  -n, --non-interactive       Do not run in interactive mode
  -a, --show-apparent-size    Show apparent size
  -d, --show-disks            Show all mounted disks
  -v, --version               Print version
That’s it for this article. If you have any doubt, problem in instalaltion or any feedback, feel free to leave a comment below.