Learn how to install Minecraft on Linux (Ubuntu) in this simple tutorial. Minecraft has been a craze now for almost 9-10 years now but for those of you who don’t know about it.
What Is Minecraft?
Minecraft is one of those video games that even people who don’t game at all can instantly recognize. Its creator, Markus “Notch” Persson, first released it in 2009, and it has since then become the bestselling video game of all time.
Most Minecraft players would agree that the secrete to the game’s success lies in its creativity-inspiring design. Players are free to explore a large, procedurally generated world made of blocks, each of which can be interacted with, moved, or transformed into resources for crafting.
This blocky world is occupied by AI-controlled monsters, friendly villagers, and, in multiplayer mode, other players. Minecraft can be played either as a survival game or sandbox, and players are free to modify its gameplay mechanics and create new assets for it.
Because Minecraft is written in the Java programming language, it runs on Linux, Windows, and macOS. Keep in mind that there are several versions of Minecraft, and this article is about Minecraft: Java Edition.
How to install Minecraft on Ubuntu
In this article, we will describe two ways to install a mineraft on Ubuntu linux:
- Using official DEB Package
- Using Snap Store
[ads]
1. Install using DEB package
To install the Minecraft using the .deb package follow the steps:
First, download .deb packages:
$ wget https://launcher.mojang.com/download/Minecraft.deb
The next step will be to install the Minecraft downloaded package. Issue the following command in the Terminal to do so:
$ sudo dpkg -i ~/Download/Minecraft.deb
After running the above command, you might encounter some errors regarding missing or broken dependencies. To solve these dependencies, issue the following command in the Terminal:
$ sudo apt -f install
Now some other packages will install & upon completion you will be able to launch the Minecraft launcher from the Ubuntu Application List. Open the Minecraft launcher & login the your account to enjoy the game.
2. Install using the Snap
Minecraft is also available as a snap package bundled with all dependencies. Snap comes pre-installed on Ubuntu 20 but for older you might be required to install it.
[box type=”info” align=”” class=”” width=””]See also: How To Enable Snap Package Manager On Linux Mint 20[/box]
To install the Minecraft using the snap package, here are the steps:
$ sudo snap install mc-installer
[ads]
Once the installation of Minecraft is completed, you can launch it either via the command line or via the Ubuntu application launcher.
To launch Minecraft from the command line, issue the following command in Terminal:
$ minecraft-launcher
To launch Minecraft from application launcher, hit the super key on your keyboard and type minecraft. When the search result appears, click on the Minecraft icon to launch it.
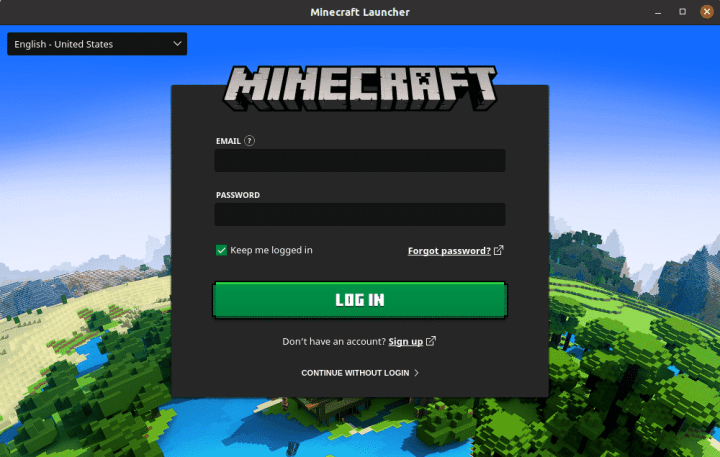
When you launch the Minecraft application for the first time in your system, you will see the following screen. Here you can either log in to your account if it has already been set up or create a new account by signing up.

Once you’ve logged in, click the Play button and enjoy Minecraft—there’s really nothing more to it!

Thats is it! If you have any questions or queries regarding this tutorial, please share those with us using the comment box below.