Nagios is the most popular open source monitoring system. Nagios will monitor servers, switches, applications and services. It alerts the System Administrator when something went wrong and also alerts back when the issues has been rectified.
In this tutorial we will learn how to install and configure Nagios 4.0.8 on CentOS 7/RHEL 7. To install Nagios, we will use its stable source code, which is available at Nagios site.
Install required packages and dependencies
First, install Apache and PHP:
# yum install httpd php php-cli gcc glibc glibc-common gd gd-devel net-snmp wget -y
Now, start httpd service:
# systemctl start httpd
Create Nagios user and group
Create a new Nagios user account and setup a password to this account:
# useradd nagios
# passwd nagios
Create a new Nagios group for allowing external commands to be submitted through the web interface. Add both the nagios user and the apache user to the group.
# groupadd nagcmd
# usermod -a -G nagcmd nagios
# usermod -a -G nagcmd apache
Install Nagios service and Nagios plugins
After installing required dependencies and adding user accounts. Lets start with Nagios core installation. First download Nagios source code from official site:
# cd /opt/
# wget http://prdownloads.sourceforge.net/sourceforge/nagios/nagios-4.0.8.tar.gz
# tar xzf nagios-4.0.8.tar.gz
# cd nagios-4.0.8
# ./configure --with-command-group=nagcmd
# make all
# make install
# make install-init
# make install-config
# make install-commandmode
# make install-webconf
After installing Nagios service download Nagios plugins from the official Nagios page:
# cd /opt
# wget http://nagios-plugins.org/download/nagios-plugins-2.0.3.tar.gz
# tar xzf nagios-plugins-2.0.3.tar.gz
# cd nagios-plugins-2.0.3
# ./configure --with-nagios-user=nagios --with-nagios-group=nagios
# make
# make install
[ads]
Configure Apache authentication
Now, need to setup apache authentication for user nagios admin:
# htpasswd -c /usr/local/nagios/etc/htpasswd.users nagiosadmin
After this restart Apache service:
# systemctl restart httpd
Start Nagios service
First, verify to Nagios install correctly:
# /usr/local/nagios/bin/nagios -v /usr/local/nagios/etc/nagios.cfg
Example output:
# /usr/local/nagios/bin/nagios -v /usr/local/nagios/etc/nagios.cfg

Nagios Core 4.0.8
Copyright (c) 2009-present Nagios Core Development Team and Community Contributors
Copyright (c) 1999-2009 Ethan Galstad
Last Modified: 08-12-2014
License: GPL

Website: http://www.nagios.org
Reading configuration data...
   Read main config file okay...
   Read object config files okay...

Running pre-flight check on configuration data...

Checking objects...
	Checked 8 services.
	Checked 1 hosts.
	Checked 1 host groups.
	Checked 0 service groups.
	Checked 1 contacts.
	Checked 1 contact groups.
	Checked 24 commands.
	Checked 5 time periods.
	Checked 0 host escalations.
	Checked 0 service escalations.
Checking for circular paths...
	Checked 1 hosts
	Checked 0 service dependencies
	Checked 0 host dependencies
	Checked 5 timeperiods
Checking global event handlers...
Checking obsessive compulsive processor commands...
Checking misc settings...

Total Warnings: 0
Total Errors:   0

Things look okay - No serious problems were detected during the pre-flight check
Now, start Nagios service and configure them to start automatically:
# systemctl start nagios
# chkconfig --add nagios
# chkconfig nagios on
Access Nagios from web browser
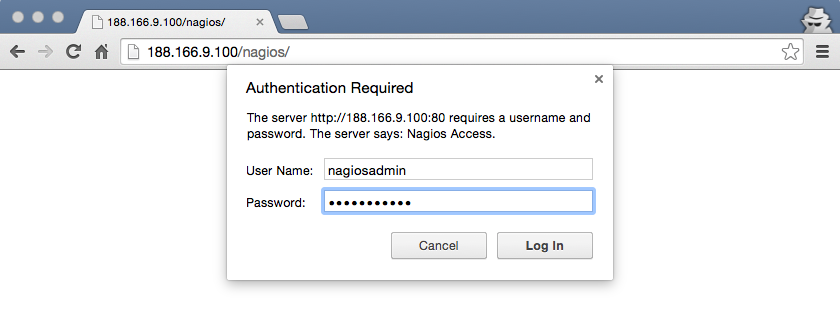
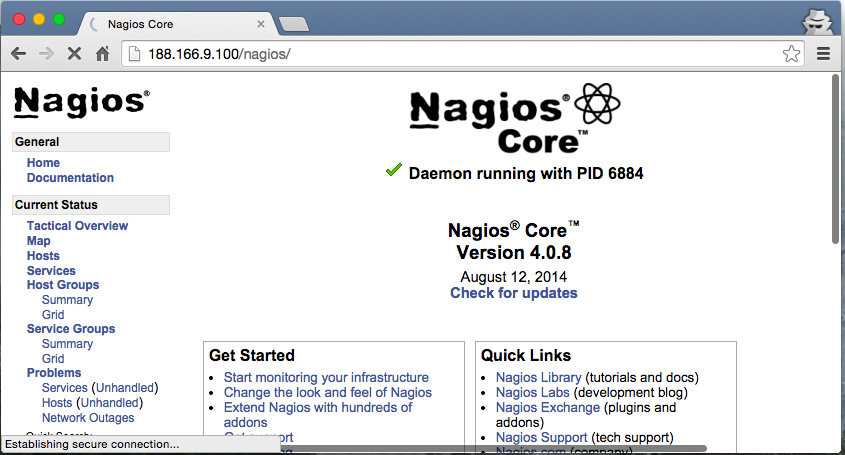
Open Nagios administrator console with URL http://nagios-server-ip/nagios and enter the username as nagiosadmin and its password which we created in the earlier steps.


Thats it. Cheers!
Hi
all went fine till verification step, but when i execute systemctl start nagios, getting output as “unit nagios.service could not be found
Regards
Harish
See this video
https://www.youtube.com/watch?v=o2bQLOFrQJI